How to pack a bike for an airplane
Start with the rules of your flight and the instructions for the chosen case. They determine the dimensions of the packaging and the necessary disassembly. Weigh all the prepared luggage: the bicycle, the packaging and everything that will be inside.
1. Check the requirements of your flight
Save the rules for sports luggage and confirmation of its transportation. Check each leg of the route, including the return, and the actual airline operating the flight. Write down the allowed weight, dimensions, packaging requirements, and the final surcharge.
For example, «Ural Airlines» specify a limit of 23 kg and 203 cm in total measurements for a regular bicycle, with a secured handlebar and removed pedals. These are the conditions of a specific carrier, verified on October 8, 2026. This airline prohibits other personal items in the sports equipment case.
Do not add clothing to protect the frame until you check if foreign objects are allowed in sports luggage. The conditions for an e-bike and battery need to be clarified separately.
2. Choose packaging for the bike and route
- Soft cover
- It weighs less and takes up less space after unpacking, but requires additional protection for protruding parts.
- Rigid bike case
- Protects the bike with its body and mounts, but adds weight and requires storage space during the trip.
These features are described in S7 memo on packing a bicycle. Before renting or buying, check the compatibility of a specific case with the frame and wheel size, as well as the requirements of the flight. The name 'bike suitcase' alone is not enough for this.
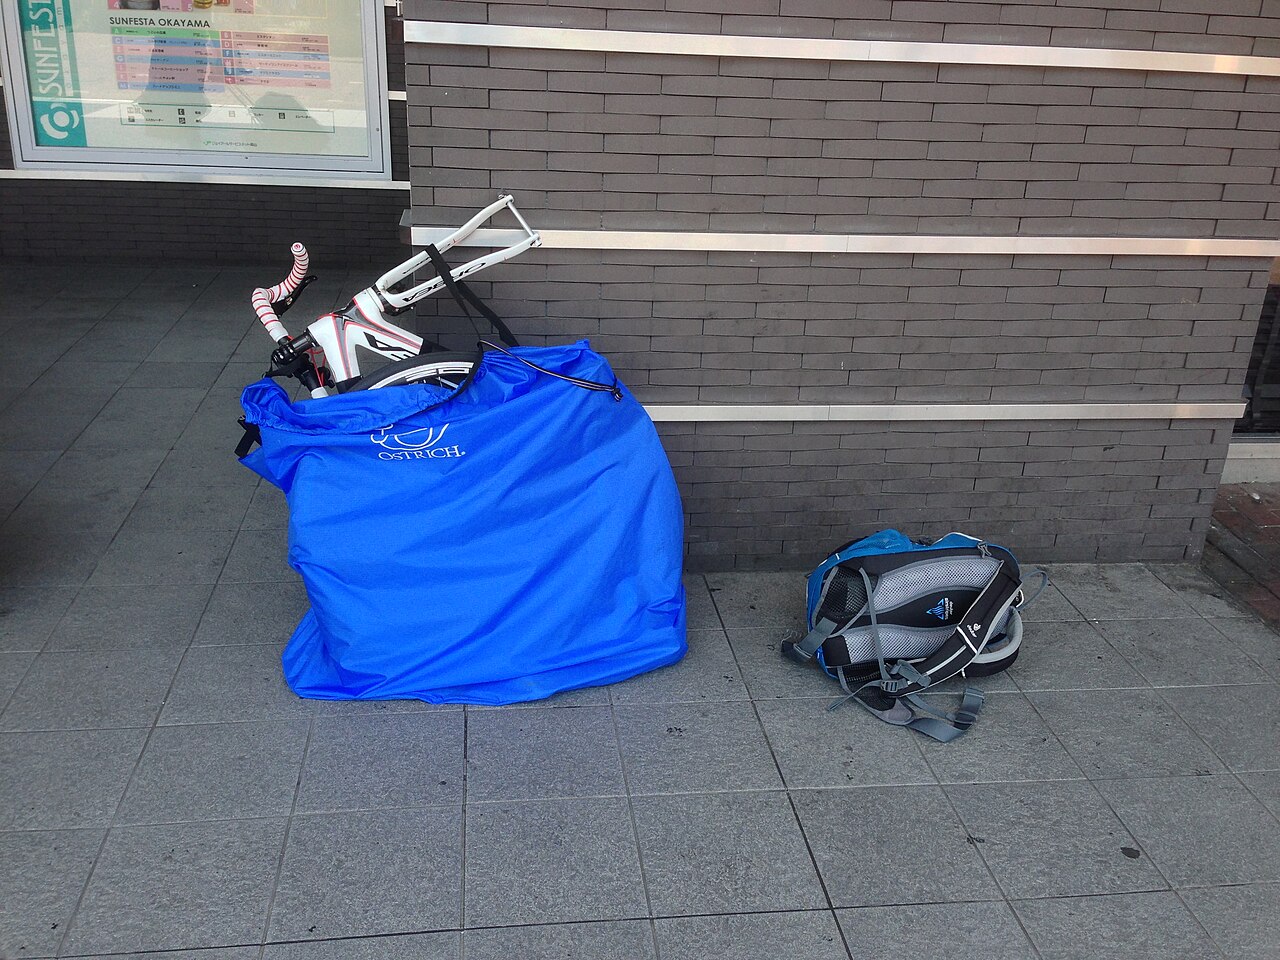

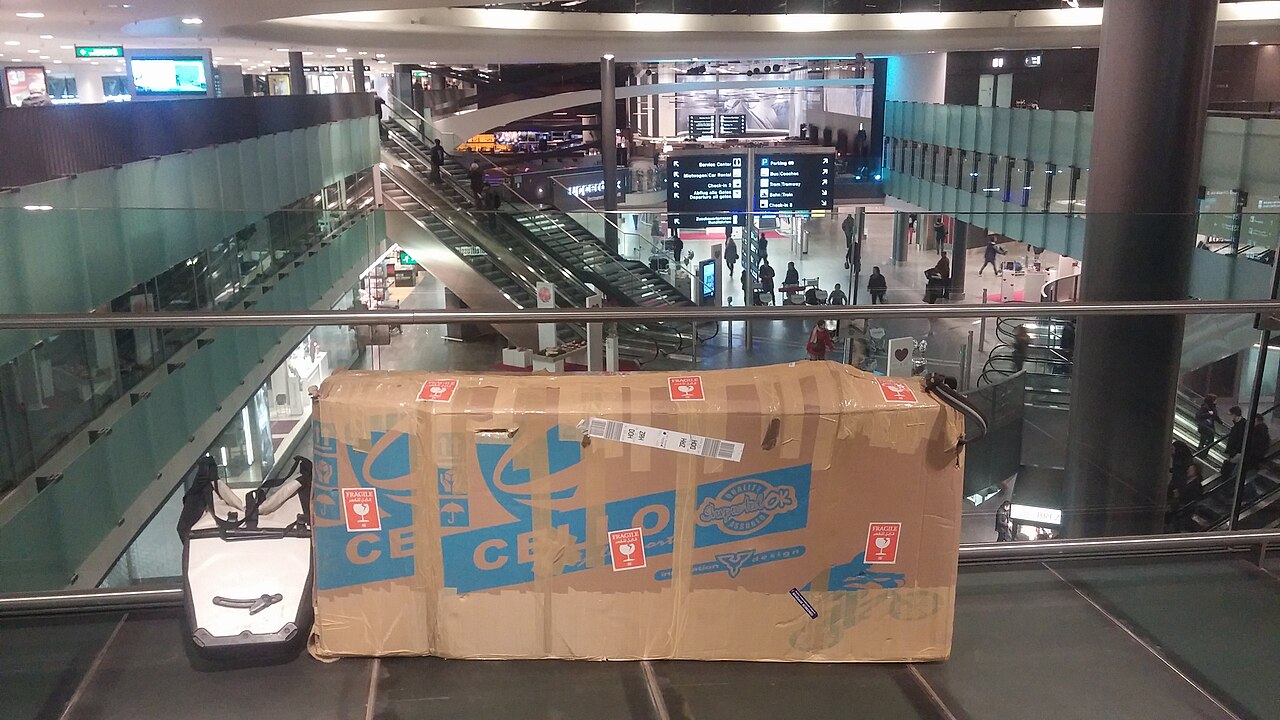

Example of size verification: in PRIMAL directory For the B&W case, the external dimensions are 119 × 89 × 29.5 cm. Their sum is 237.5 cm, so such a box exceeds the above limit of 203 cm for Ural Airlines. Before booking, you need to get carrier approval or choose another packaging. Dimensions verified on October 9, 2026, according to the public catalog; case availability for your dates still needs to be confirmed.
Ask for instructions for the chosen model. Find out what kind of disassembly is required, what attachments and protective inserts are included, where to store the packaging during the trip, and how to bring it from the airport.
3. Prepare tools and an assembly plan
Before disassembly, take a photo of the bike and the position of the parts you will be removing. Note which operations you will be able to perform after arrival and find a workshop for the rest in advance.
- Put on the list the tools listed in the bicycle and packaging instructions.
- Write down the dimensions and settings that will change during disassembly.
- Collect small fasteners into signed bags.
- Save instructions and workshop contacts offline.
A universal disassembly scheme does not fit all bicycles: an integrated cockpit, hydraulic lines, and mounts may limit the movement of parts. If packing requires an unfamiliar operation, entrust it to a mechanic and arrange for assembly on site.
4. Pack according to the instructions of the selected box
- Check the contents of the package and the condition of the fasteners before starting disassembly.
- Perform only the operations provided for in the instructions.
- Install the protective inserts and secure the frame, wheels, and removed parts in their designated places.
- Check that parts do not move and do not press against each other when closing.
- Close the packaging without applying force that compresses the bicycle.
- Weigh your packed luggage and measure the external dimensions.
Additional example: Removing wheels and packing the bike in a soft case at the airport — accelerated demonstration, 17 seconds, GIF about 13 MB. Author Danlessa, CC BY-SA 4.0. Internal fastenings are not shown in enough detail: the video does not replace the instructions for your case and does not confirm compliance with the rules of the selected flight.

Take photos of the open packaging and closed luggage. Save them along with the booking number. Leave the owner's contact inside; the tag outside should also be readable.
5. Check the bicycle after receipt
Inspect the packaging before leaving the baggage claim area. If damaged, record the condition with photos and contact the carrier's representative to file a claim. Check the procedure and deadlines for the claim with your airline.
After assembly, check the bicycle according to the manufacturer's instructions or take it to a mechanic. Allow time for a test ride before the race. If you notice damage or are unsure about the assembly, first fix the cause.
For race start planning, it will be useful guide to the first cycling race: flight, assembly, and number issuance should fit into one realistic plan.