The brake lever sinks to the handlebars
The lever goes much further than usual, touches the handlebars, or the brake does not hold the bike. Start by stopping: you need to figure out such a malfunction on the spot, not on a descent.
Stop the ride
Sudden change and constantly long travel after assembly — different information for the mechanic, but both require checking. Tightening the adjustment of the distance from the handle to the handlebar does not confirm the elimination of the malfunction.
1. Determine the type of brake
In a cable brake, the force is transmitted by a metal cable in a sheath. In a hydraulic brake, it's transmitted by fluid in a hose. There are also combined designs: if you're not sure, find the model on the body and its instructions, take a picture of the lever and brake.
There is no bleeding for a cable brake. Inspect the available cable, housings, and their stops without loosening the fasteners. A break or fraying is a reason for repair. For hydraulics, proceed to the external inspection below. Adjustment of both types is performed according to different manuals.
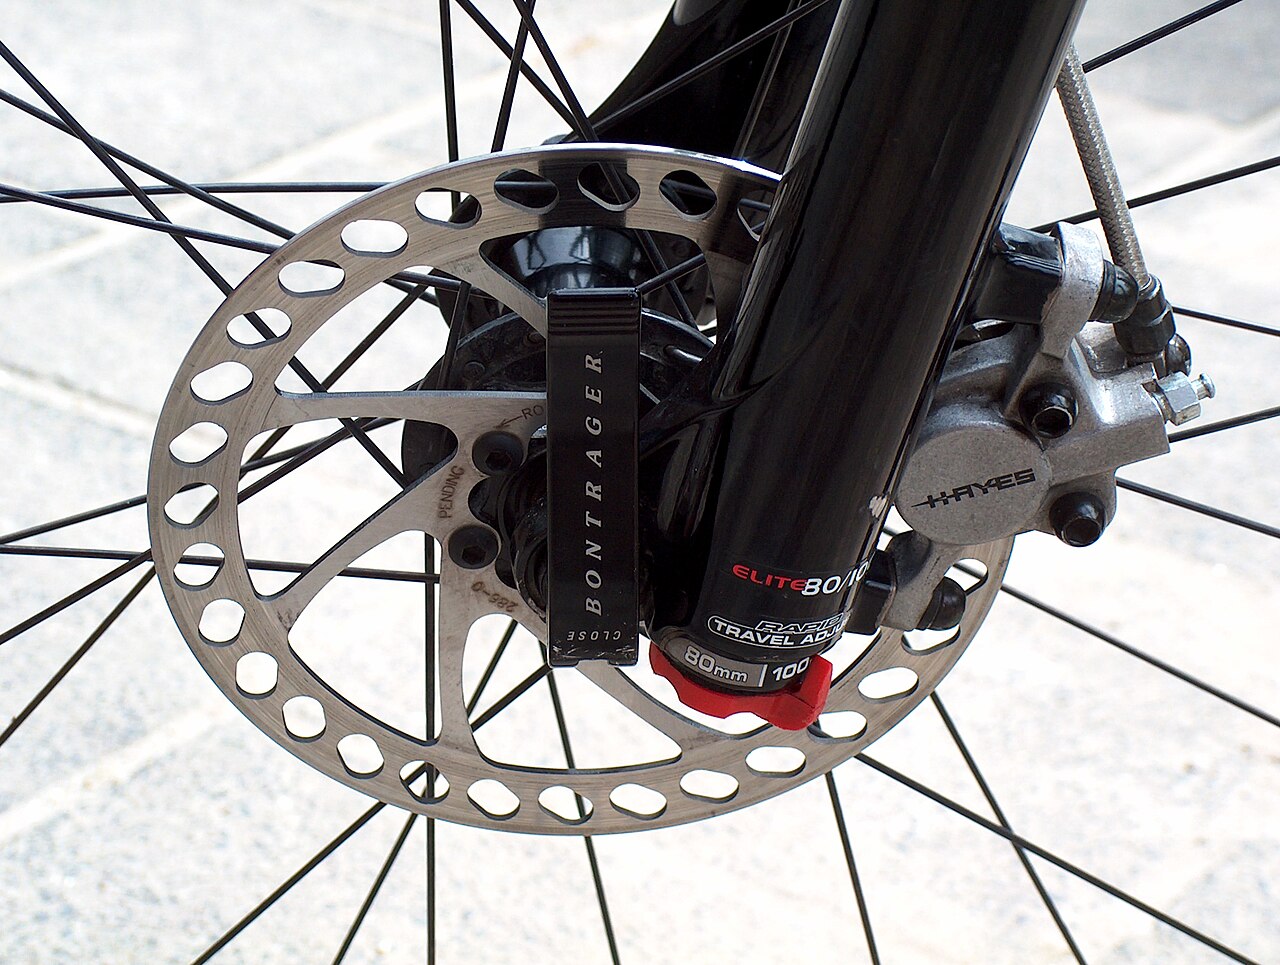

2. Inspect the hydraulics without disassembly
- With the wheel installed and secured, gently press the handle on the stationary bike. Record whether it touches the handlebar and whether the brake holds the bike.
- Inspect the handle, hose, connections, and caliper. Note any damp oily marks, kinks, and damage. Do not open the valves to «let air out».
- Think about the recent shortening of the hose, replacing the pads, transporting and pressing the handle without the wheel.
Shimano prohibits the use of a brake with a leak. If after several presses the handle becomes tighter, this is a useful observation, but it does not serve as permission to ride.
The absence of visible leakage does not prove that it is working properly. SRAM examines the condition of the pads, the operation of the pistons and the need for pumping with excessive travel. Wear values and the procedure for a specific model cannot be applied to all brakes.
3. Do not add random liquid
Repairs — possible work after diagnosis. If there is a leak, you must first eliminate its cause: topping up does not replace repairs.
The required fluid is determined by the exact model, not just the brand. For example, SRAM Maven Ultimate A1 requires Maxima Mineral Brake Oil. Other SRAM brakes use different fluids, including DOT. Do not mix them and do not use fluid from a car kit without manufacturer's instructions.
If the wheel is removed, do not press the lever without the recommended spacer. After completing the repair, check for leaks and braking, not just a tight feeling of the lever.
4. How to sign up for repair
In brake workshop directory choose your city. For example, Birota It is presented in St. Petersburg; check the model support.
Order diagnostics of excessive handlebar play. For hydraulic systems, ask to check for leaks, pads, piston operation, and determine the need for bleeding. For cable systems, check the cable, housings, mounts, and adjustments.
Sources and boundaries of verification
The material was prepared by the FATRACING editorial office for technical manuals. The inspection by the invited mechanic has not yet been carried out. The instruction of your model determines the order of maintenance, tightening torques and compatibility.
- Shimano: Hydraulic Disc Brake User Manual — leaks and spacers.
- SRAM: Disc Brake Troubleshooting — excessive travel.
- SRAM Maven Ultimate A1 — example of fluid requirement.
The sources were verified on October 9, 2026. The workshop did not check the article.