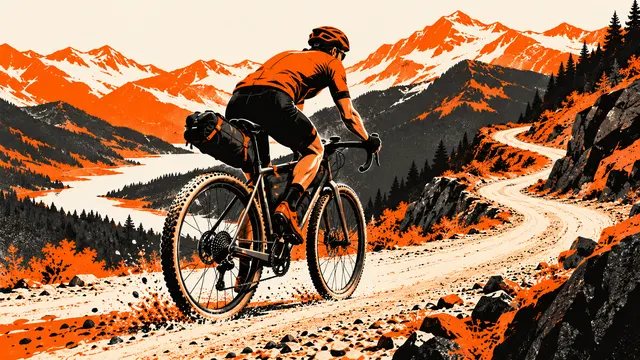
23–24 January 2027 · Veliky Novgorod
ЗИМНИЕ ВЫХОДНЫЕ ВЕЛОКРОССА · 3ВВ
Два дня ТИПАЦИКЛОКРОССА: Cyclocross, Gravel, Fixed gear, МТБ и беговой кросс. Один день или оба.
23–24 January 2027 · Veliky Novgorod
Два дня ТИПАЦИКЛОКРОССА: Cyclocross, Gravel, Fixed gear, МТБ и беговой кросс. Один день или оба.
19 June 2027 · Batetsky
Tsar Grader 202725 October — 7 November 2026 · XCnews
INOCROSSApril 10-11, 2027 · Veliky Novgorod
Spring Cyclocross WeekendFrom 22 November 2026 · Saint Petersburg and the Leningrad Region
WINTER CUP XCNEWS499 ₽ / month · Для гонщиков
FATRACING PREMIUMОт 2 999 ₽ / month · For business
FATRACING PRO“Gravel wheel” does not describe its interfaces. Even a familiar tyre size does not guarantee the correct axle or brake fit. Compare the actual wheel assembly with your bike, one requirement at a time.
Record the bike model and year and the front and rear wheel mounting specifications separately: axle type and size, hub spacing and permitted wheel size. The frame axle and hub end caps are different parts. A thru-axle needs the correct length and frame thread as well as diameter.
Use conversion end caps or a replacement freehub only if the manufacturer offers a compatible kit for that hub model. A photograph of a similar hub is not evidence that conversion is possible.
For disc brakes, record rotor mounting, diameter and thickness and check the proposed assembly. Rim brakes need a designated braking surface and approved pads. A disc-only wheel without a braking track is not suitable for rim brakes merely because its size matches.
Reusing the old rotor does not guarantee unchanged pad clearance. Check the installed wheel and adjust according to the manual if required. Do not assume wheel swaps will be adjustment-free without testing them on the bike.
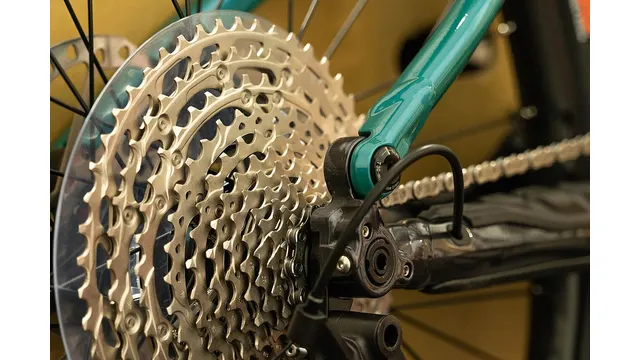
You need the exact cassette model and the proposed wheel’s freehub type. Brand and speed count alone are insufficient. Confirm the required spacers and retaining parts; do not automatically transfer rings from the old wheel.
If the freehub needs changing, obtain the approved kit part number and included-parts list in advance. Include that kit, rotor, labour and consumables in the comparison. Request actual quotes; this guide does not estimate prices.
Match tyre and rim bead-seat diameter, permitted widths and both manufacturers’ pressure limits. Hookless requires an explicitly permitted pairing. This checklist does not replace tyre selection or recommend a width based solely on riding discipline.
Check frame clearance against the frame maker’s requirements, the wheel’s system-weight limit and its permitted use. Clarify whether the stated limit includes the bike and luggage. Rim depth and spoke count alone do not establish load capacity.
“Bike __, year __. Front/rear wheel required. Mounting __, hub spacing __, frame axle __. Brake __, rotor __, cassette __, tyre __. System weight __. Please confirm wheel part number, end caps, freehub, spacers, rotor lockring/bolts, permitted tyres and limits. What is included and what must be ordered separately?”
On delivery, check markings and included parts against the written reply before installation. Follow the manuals, then verify retention, free rotation and braking before riding. Ask a workshop if mounting or clearance remains uncertain.
Upcoming races and useful sections of FATRACING.
Instagram belongs to Meta Platforms Inc., whose activities are recognized as extremist and banned on the territory of the Russian Federation.