23–24 January 2027 · Veliky Novgorod
ЗИМНИЕ ВЫХОДНЫЕ ВЕЛОКРОССА · 3ВВ
Два дня ТИПАЦИКЛОКРОССА: Cyclocross, Gravel, Fixed gear, МТБ и беговой кросс. Один день или оба.
23–24 January 2027 · Veliky Novgorod
Два дня ТИПАЦИКЛОКРОССА: Cyclocross, Gravel, Fixed gear, МТБ и беговой кросс. Один день или оба.
19 June 2027 · Batetsky
Tsar Grader 202725 October — 7 November 2026 · XCnews
INOCROSSApril 10-11, 2027 · Veliky Novgorod
Spring Cyclocross WeekendFrom 22 November 2026 · Saint Petersburg and the Leningrad Region
WINTER CUP XCNEWS499 ₽ / month · Для гонщиков
FATRACING PREMIUMОт 2 999 ₽ / month · For business
FATRACING PROBluetooth handles communication, not mechanical compatibility. Before buying a trainer or mounting a bike, match the exact bike, rear-wheel attachment and drivetrain. This guide covers the checks for direct-drive trainers and explains how wheel-on trainers differ.
A direct-drive trainer replaces the rear wheel; the chain runs on its cassette or compatible single-sprocket system. A wheel-on trainer retains the rear wheel, with the tyre against a roller. Mounting hardware and procedures differ, so a brand name without a model and generation is not enough.
Find the manual for your trainer generation and its frame compatibility list. Some bikes require revised adapters or have restrictions; see the example of Wahoo's updated adapters. Matching axle dimensions does not replace the frame check.
You need the attachment type, diameter and spacing between the supports. Examples include QR 130/135 and 12×142 or 12×148 thru-axles; these are not a support list for every trainer. Select end caps according to its manual. Do not spread the stays or use axle tension to pull mismatched spacing together.
Direct-drive trainers often use the bike's thru-axle with trainer adapters. A wheel-on trainer may require a dedicated axle with protruding ends for its clamp; axle length and thread pitch also matter. Confirm the kit for the exact model rather than buying any adapter labelled 12 mm.
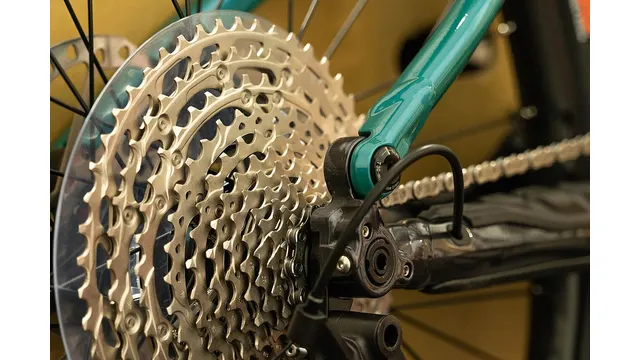
For conventional shifting, the trainer cassette must work with the bike's shifters, derailleur and chain. The same cassette model as your rear wheel is a useful starting point, provided the trainer supports it. Equal speed counts do not guarantee the same freehub fitting or chain compatibility.
HG, XD/XDR and Micro Spline are different interfaces. Check available freehubs and model-specific restrictions in the manufacturer's compatibility documentation. Spacers depend on the cassette and freehub combination: “one ring for every ten-speed cassette” is too broad a rule.
A single-sprocket virtual-shifting setup must be checked together with its app and controller. A compatible chain and mount do not establish that your chosen software can shift virtual gears on that trainer.
Before buying, find an explicitly supported combination of trainer generation, firmware, sprocket system, controls and app. Check each service separately if you plan to use several. Displaying power or running ERG does not establish virtual-shifting support.
The KICKR CORE setup manualillustrates one common device. It is an example; its adapter labels do not apply to another trainer.
Begin by pedalling gently and checking several gears without hard efforts. The cassette should not wobble, the chain should not fall beyond it, and the frame should not move in the mounting points. If it is noisy, check cassette and adapter installation before changing derailleur limit screws.
For wheel-on trainers, complete any specified roller-tension and tyre-pressure setup before calibration. Once the mechanics are checked, continue to connecting the trainer. Use the first short, easy session to check mounting and control rather than test maximum power.
Upcoming races and useful sections of FATRACING.
Instagram belongs to Meta Platforms Inc., whose activities are recognized as extremist and banned on the territory of the Russian Federation.