The tubeless loses pressure: how to find a leak
Yesterday I pumped up, in the morning the wheel is soft. Daily paging hides the symptom, but does not show the cause. First, measure the loss, then find the air outlet — so it will be clearer what kind of work is needed.
When it is impossible to pump up and go
Make sure the tire and wheel are allowed by the manufacturer for joint tubeless installation. Follow the smaller of the permissible maximums of the tire and rim, as well as the minimum restrictions of your system. For hookless — rims without a retaining hook — approved tire and its size are especially important.
These limitations explains Schwalbe in the Tubeless FAQ. The maximum pressure on the sidewall is the limit, not advice on how much to pump to find a leak.
1. Measure the loss under the same conditions
Inflate to your normal operating pressure within the permitted range. Record the reading, time, temperature and wheel. Check again with the same pressure gauge a few hours later and the next day at a similar temperature. An example of a record: "rear, 2.2 bars in the evening - > 1.3 in the morning in the same room."
There is no single allowable number of "bars per night" for all tires. It is important whether the pressure remains usable and how much the behavior of this particular wheel has changed. Frequent connections of the pump also release some air; comparison with fingers is inaccurate.
Remember the last pump. After Co₂, the pressure may drop faster; Zipp recommends replacing co₂ with regular air when accessing the pump. Check the compatibility of the sealant with Co₂ separately on its packaging.
2. Find the air outlet
You will need a pressure gauge, water with a small amount of dishwashing detergent, a sponge or a sprayer. The bubble method is described in e*thirteen instructions. Remove the wheel only if you know how to safely install it back; for hydraulics, put a suitable spacer.
- Protect the disc and pads from mortar and sealant. Inspect the wheel away from the brake surfaces.
- On a stationary wheel, apply the solution to the tread and sidewalls, then to the joint of the tire with the rim on both sides.
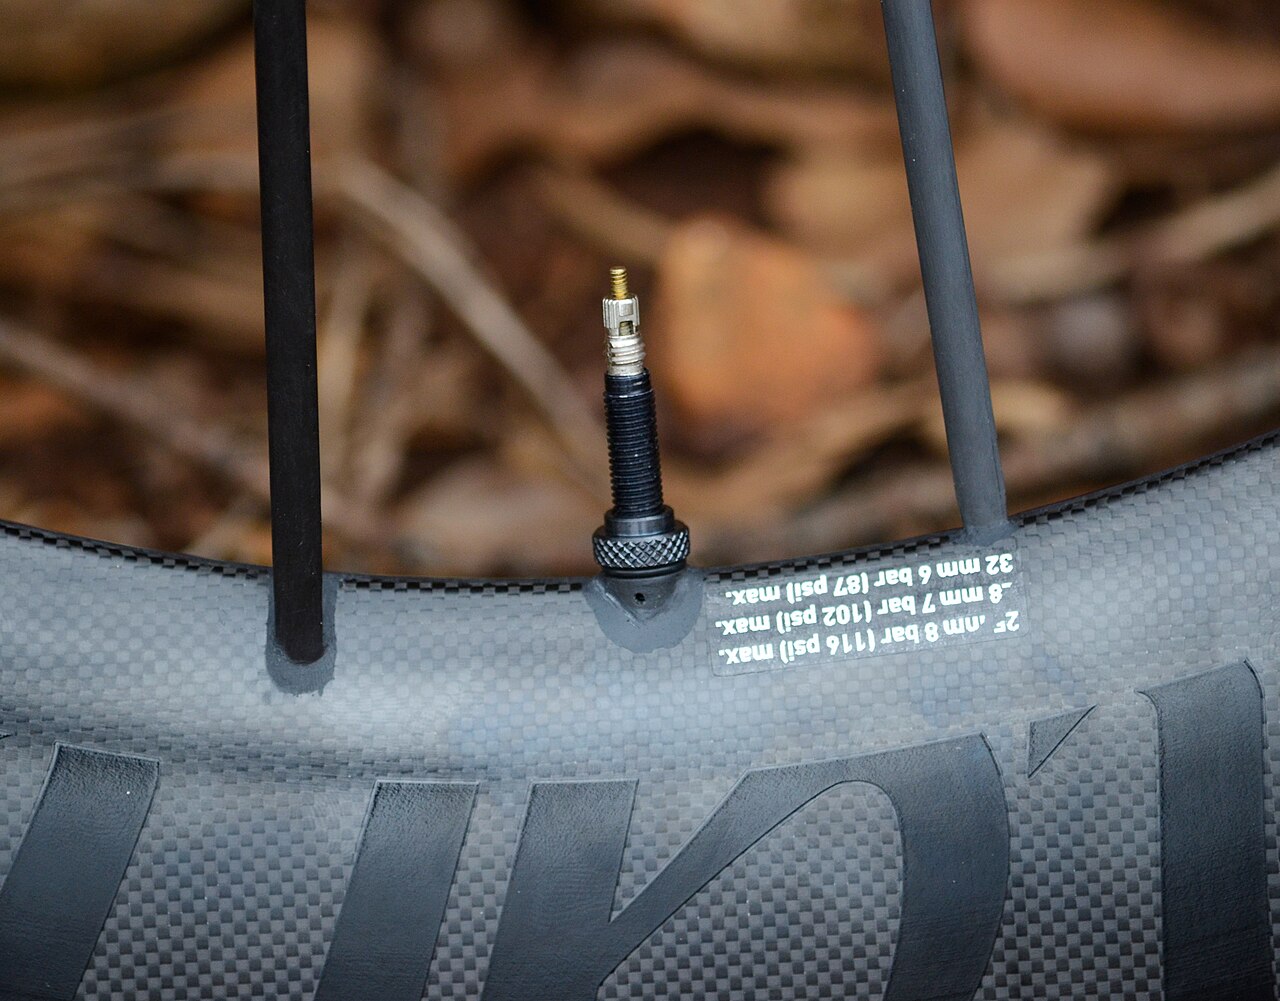
- Check separately the top of the valve, its base at the rim and the holes of the spokes. Do not unscrew the valve core under pressure.
- Look for bubbles that grow or reappear. The foam from the sponge by itself does not confirm the leak. Take a close-up of the found place.
After checking, rinse off the solution and dry the surfaces. If the leak is not visible and the measured loss continues, further diagnostics are needed; the absence of bubbles does not prove tightness.
3. What does the found place mean
- Bubbles on the tread
- A puncture is likely. If the sealant has not closed it, the repair method is chosen according to the location and nature of the damage. A large incision, damaged side or hernia require inspection and possible replacement, not the addition of sealant.
- Bubbles at the junction of the tire and rim
- Check the uniformity of the control line on the sidewall relative to the rim. Planting problems or contamination are possible; damage and incompatibility must also be excluded.
- Bubbles from the top of the valve
- Check the core: fit, contamination and damage. Do not confuse the small nut that opens the Presta with the threaded core and the large nut at the rim.
- Bubbles at the base of the valve or spokes
- Need to check the valve seal and tape inside the rim. Air can pass under the tape and come out in another place; the place of bubbles does not always coincide with the defect.
ENVE associates leakage at the valve opening with its fit or violation of the rim tape and prohibits tightening the locking nut with pliers. Pulling up with force is not a substitute for inspecting the tape.

4. Check the sealant and repeat the measurement
If the wheel has been standing for a long time or has not been serviced for a long time, the sealant could dry out. The age of the liquid, heat and storage conditions are important; the sound of shaking does not provide a reliable measurement of the residue. The role of fresh sealant and drying during storage explains Zipp.
Take the quantity, the verification period and the method of addition from the instructions of your sealant. Do not mix products without proven compatibility. Not every sealant can be poured through the valve: if it is necessary to remove the board, the air is first completely drained.
Fresh liquid can help sealing, but does not repair damaged tape or board. If there is still not enough air, order a disassembly and inspection. After the cause is eliminated, repeat the measurement under the same conditions. The wheel should maintain a suitable working pressure overnight; check it anyway before each trip.
5. What service to look for
The right wording — finding a leak in a tubeless wheel with the inspection of the tire, valve, tape and sealant. Replacing the tape will usually require disassembling and re-installing the tire; ask to coordinate the consumables after inspection.
In the catalog selected works with wheels and a tubeless; change the city if necessary, Saint Petersburg is shown by default. For example, Birota specified in the catalog with tubeless service. Check compatibility with your rim, tire, and sealant before visiting; the workshop was not involved in verifying the article.
Selection of working pressure after repair is a separate task: how to choose the pressure. First, restore the tightness, then check the settings on a short trip.
Sources and boundaries of verification
The material was prepared by the FATRACING editorial office for technical manuals. The inspection by the invited mechanic has not yet been carried out. The instruction of your model determines the order of maintenance, tightening torques and compatibility.
- Zipp / SRAM: Tubeless Troubleshooting — co₂, sealant, valve and tape.
- Schwalbe: Tubeless FAQ — Compatibility, installation and pressure limits.
- e*thirteen: Tubeless tire sealing issues — Search for bubbles and inspect the system.
- ENVE: Wheel Guide — leakage at the valve and tape, tightening the nut with your fingers.
Sources verified on October 9, 2026. The volume of sealant and pressure are intentionally not set in one digit: they depend on the specific system.